Article 2 of 12 – Lead Paint Removal & Removal of Glass, Sand Sashes, re-Inspect Sashes
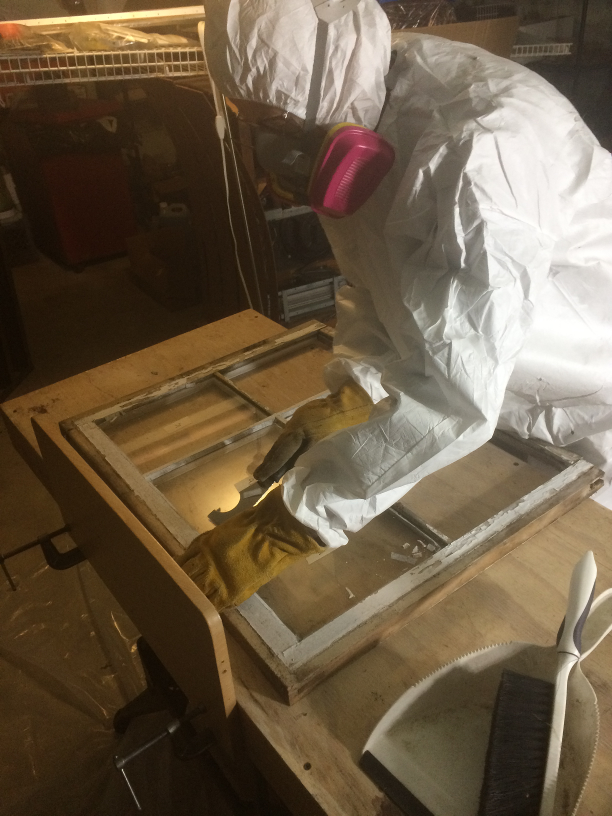
February 2nd – Lead Paint Removal: Referencing guidelines in multiple sources cited (in appendix) I chose to use a heat gun initially 650°, then 670° to safely remove the lead paint. Paint separated from wood well and was easily scraped off. A few areas remained where the paint was very thin-did not respond as well to the heat gun. Overall, the process went very quickly. Then moved on to glazing putty. Used tin foil covered board to shield glass from heat while I softened & removed most of the old glazing putty. (Leeke, “Save America’s Windows”)
Ex/Lower Sash 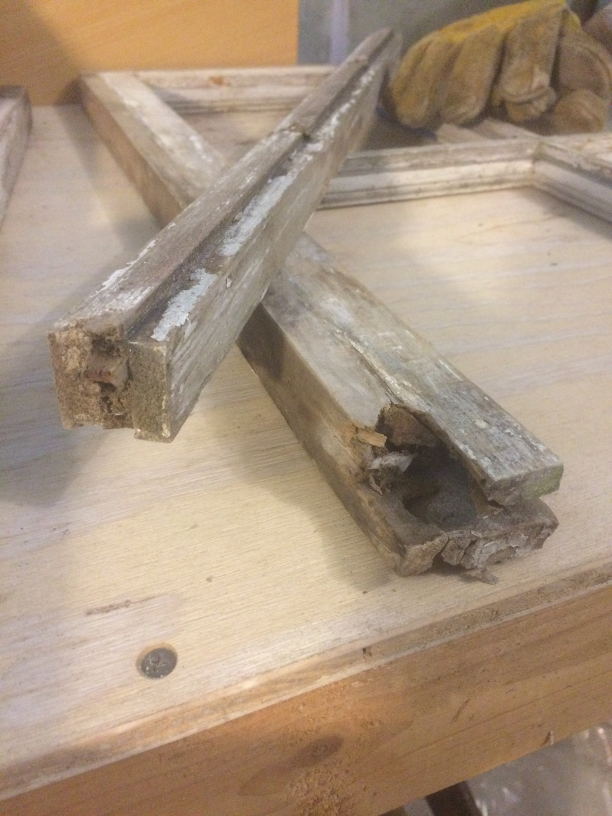
Upper Sash & it’s Lower Rail 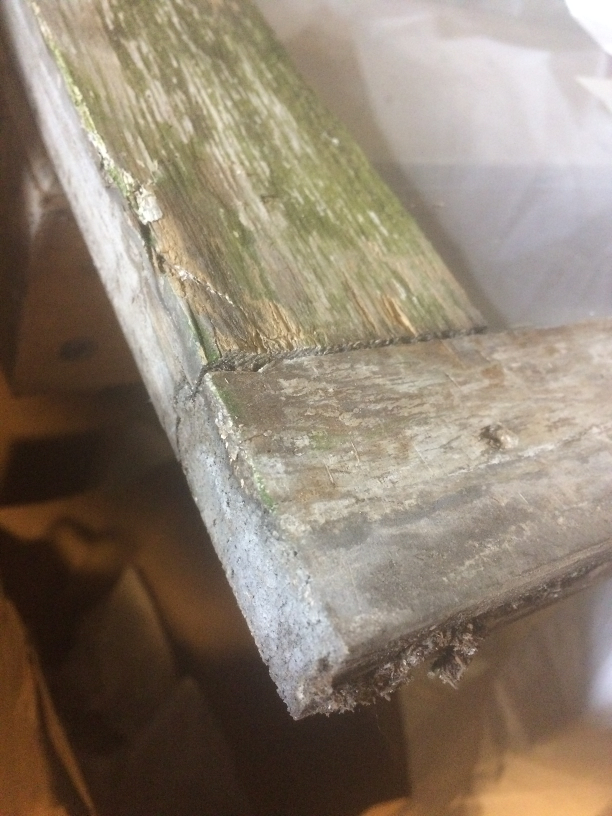
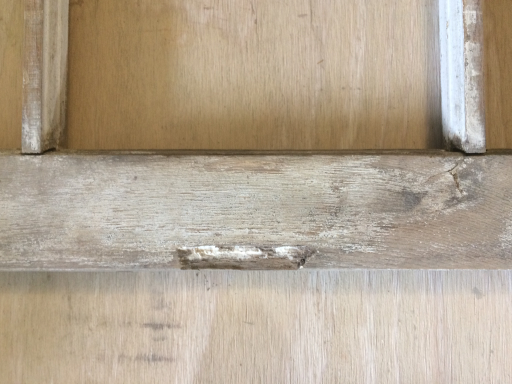
Ex/Lower Sash: Lower Rail
February 11th – Removal of Glass, Sand Sashes, re-inspect Sashes: Removed all glazing points & remaining dried putty, glass panes. (Two glass panes broke while removing glazing points-then tried wiggling back/forth the glazing points first. With this method, I was then able to remove the remainder without additional breakage. Allowed wood to dry further.
Sanding went well also. Left intact paint in places, particularly on the interior surfaces. Used a wet sanding method. (Badly mildewed areas required mostly the dry method – wet smeared/clogged paper.) Used combination of wood block & putty knives to protect profile & get into cracks/crevices. Worked to reach a paintable surface – left some paint in areas. Minor patching will be needed.
Ex/LS/Lower Rail & Left Stile 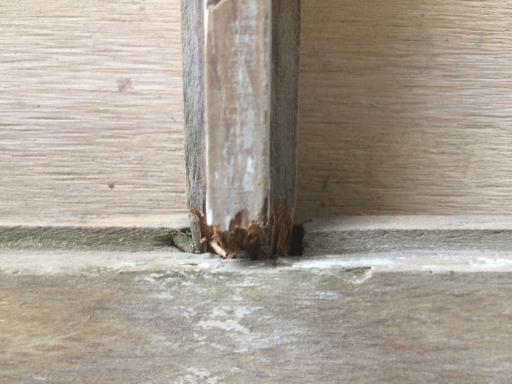
Ex/LS/LR: Center 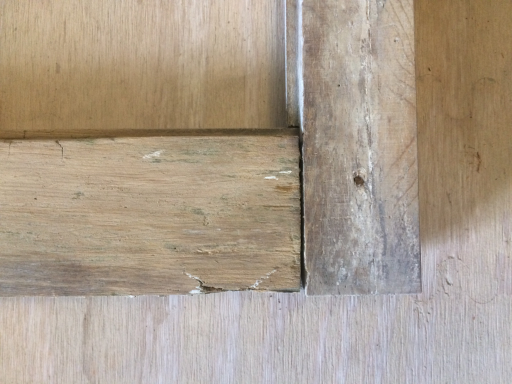
Ex/LS/LR & Right Stile
Ex/LS/LR & Left Stile 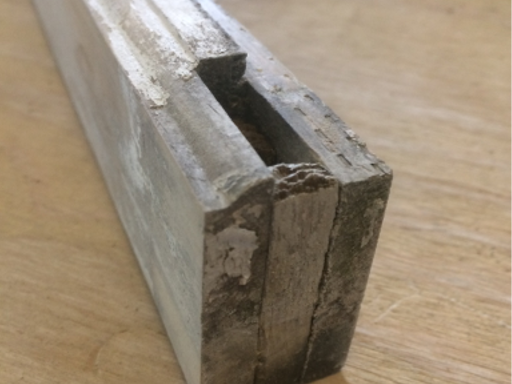
Sash’s Interior Profile: Upper Sash 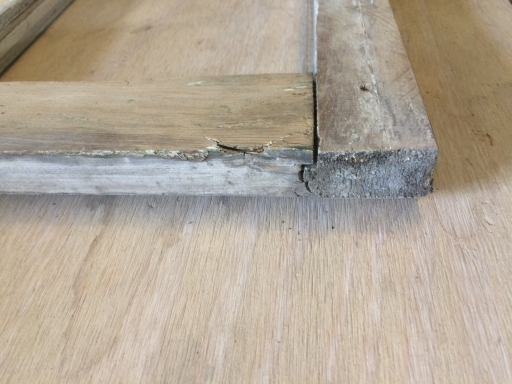
Ex/LS/LR: Right
Exterior/US: Muntin 3a-4a 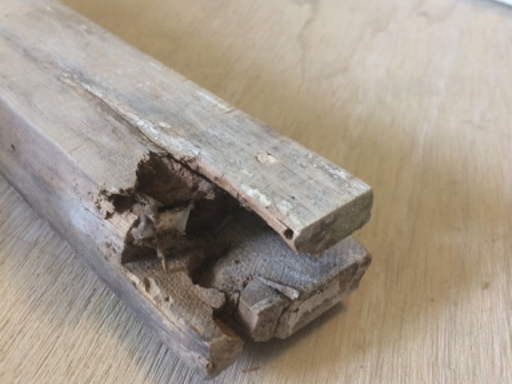
Ex/US/Left Stile: (now Broken) 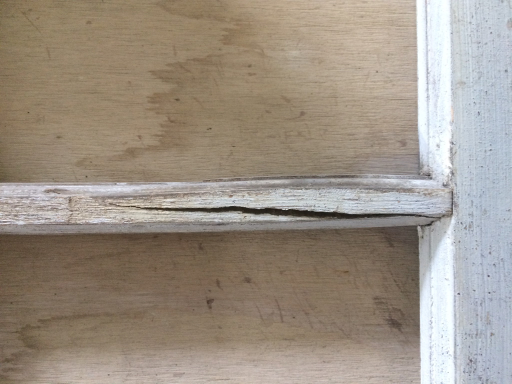
Interior/US: Muntin 3a-4a
Interior/Lower Sash/LR: Center 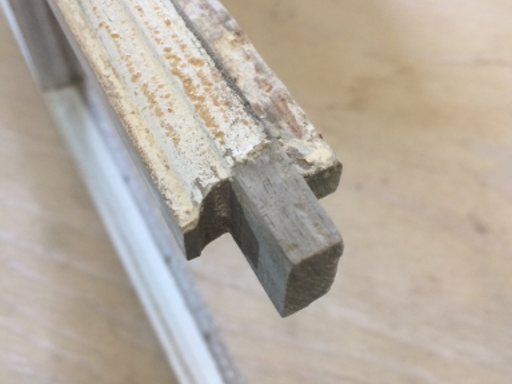
Muntin Profile: Upper Sash 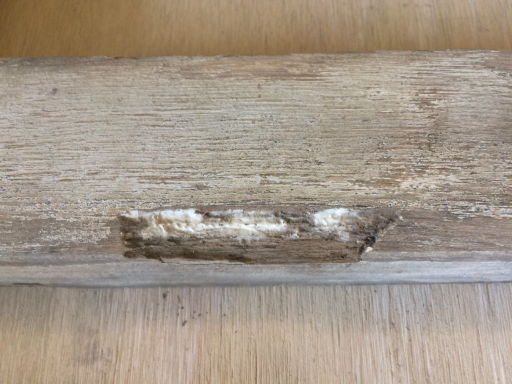
Interior/LS/BR: Center (fungus)
New Issues Identified:
Wet Wood: The wood has dried and feels light, hard to the touch and when tapped sounds solid. I plan to consolidate where needed. And, there are a few specific spots where the wood is dry rotted and brittle. Now considering patch/splice vs full length replacement(s).
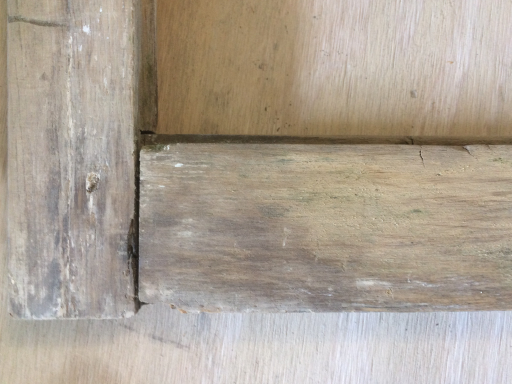
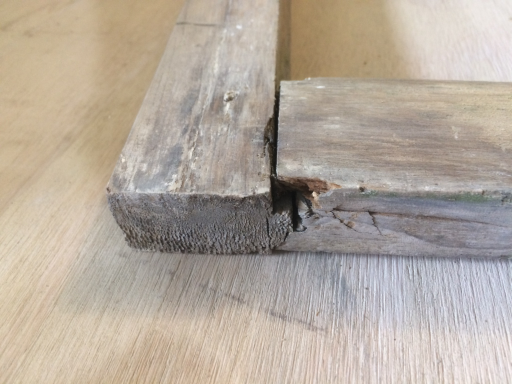
Dry Rot: The joint between Upper Sash’s (exterior) Left Stile & Bottom Rail, has dry rot, is brittle and will need a repair/replacement. Studying the SPAB’s technical bulletin illustrations (Townsend, “Repair”), as provided by Ray Tschoepe, to help determine next steps. Inspect further dry rotted center muntin (LS/BR) for potential epoxy repair over replacement.
Fungus: The rotted wood with fungus growing seen on that same Bottom Rail (interior) I plan to remove with a wire brush, clean to sound wood, then apply liquid epoxy, then 2-part epoxy patch.
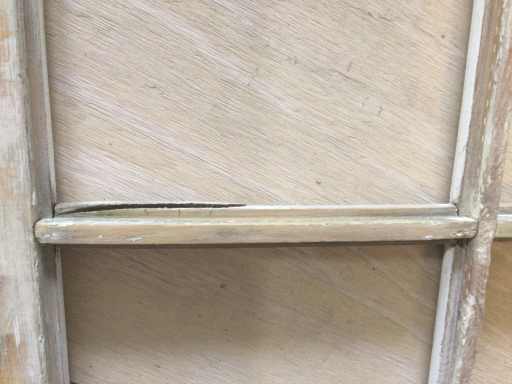
Cracked Muntin 3a-4a: It feels a bit “spongy” when squished together by hand. Need to determine if additional dry will allow for gluing or if it needs to be replaced.
Next Steps:
Inspect specific wood areas after further dry time. Begin consolidation where needed. Remove fungus and begin epoxy repairs in all places possible. Inspect the Lower Sash’s Bottom Rail for the presence & condition of the Anti-Capillary drip channel. Practice a patch & the splice technique to help determine the repair plan(s). Most likely will soon follow with repairs knowing if I happen to fail, I will need to reproduce pieces in order to begin re-glazing.
Locate: Router bit to attempt to match interior muntin profile, a Sash Lock (add to window, not present before repair)
Source Materials: Wood for repair/replace (species & matching density of grain), Replacement Glass, Glazing Putty, Glazing Points
Future Steps: Clean Glass, Specify Primer, Top Coat Paint
Installation: Clean window frame of debris, access parting beads/stops/nails.
Next Article 3 of 12: Consolidate Lower Sash’s Lower Rails