Article 3 of 12 – Consolidate Lower Sash’s Lower Rail
February 2nd – Consolidate Lower Sash’s Lower Rail: Considering portions of the sash needed “Class II: Stabilization” as detailed in the NPS Preservation Brief #9, I went ahead & purchased “PC-Rot Terminator®,” a 2-part liquid epoxy to prepare surfaces. Some areas need the liquid epoxy to reconsolidate the wood fibers. Others, I will be using the liquid epoxy as a prep for a 2-part epoxy putty that will then fill in missing/rotted wood. (Myers, “The Repair”) In preparation, I removed the fungus in/on the Lower Rail using a wire brush. (image A: before epoxy application) Also, the Upper Sash’s Left Stile where it meets its Lower Rail. I also scanned both sashes for areas needing strength. After combining the 2-parts together, I worked quickly to dribble the mixture onto the wood. I used toothpicks to direct the epoxy into cracks and let it seep deep into the wood. Fortunately, the epoxy did not harden as quickly as I feared. But it was quite sticky & difficult to rotate the sashes around to apply the epoxy everywhere planned. I stopped & focused on the most damaged areas by reapplying dribbles allowing it to sink in. I set the sashes down & hoped for the best. In the future, I will calculate the ratio of the product, as per its instructions, and only mix what I need in an effort to reserve for additional applications.

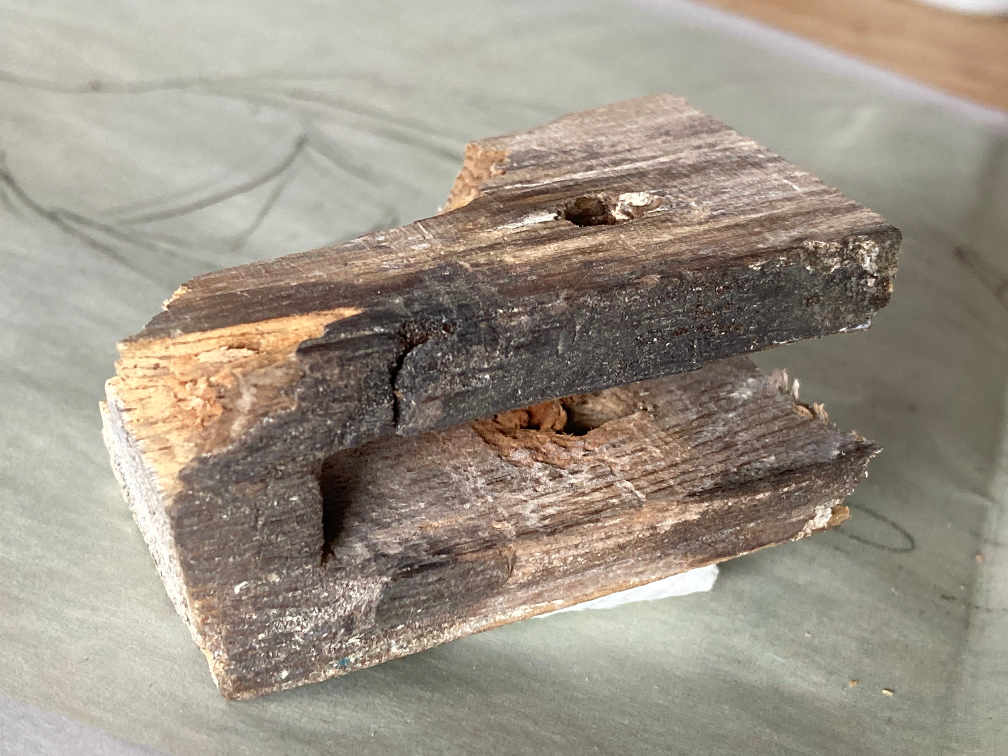
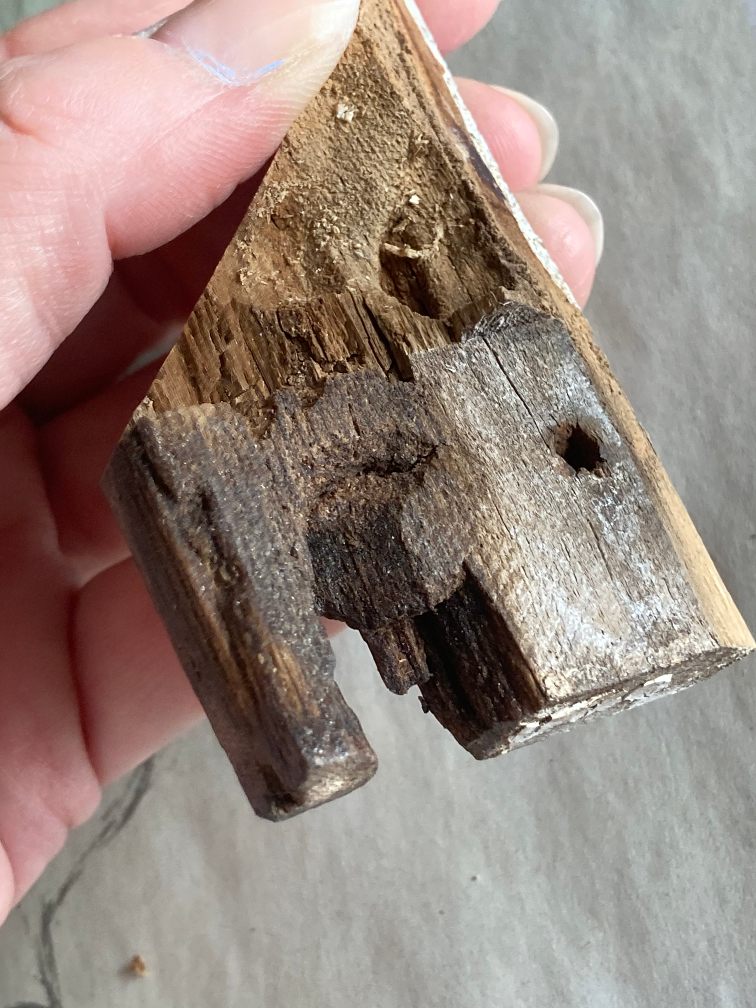
Note: Images B-D, are after the 3rd sash reassembly (3/2/21) I include them here because I struggled to take photos during consolidation.
Image B,C: shows liquid epoxy that I only applied to very specific spots. Dried as shown here, appears dark/shiny and, I am impressed at how rigid the wood became.
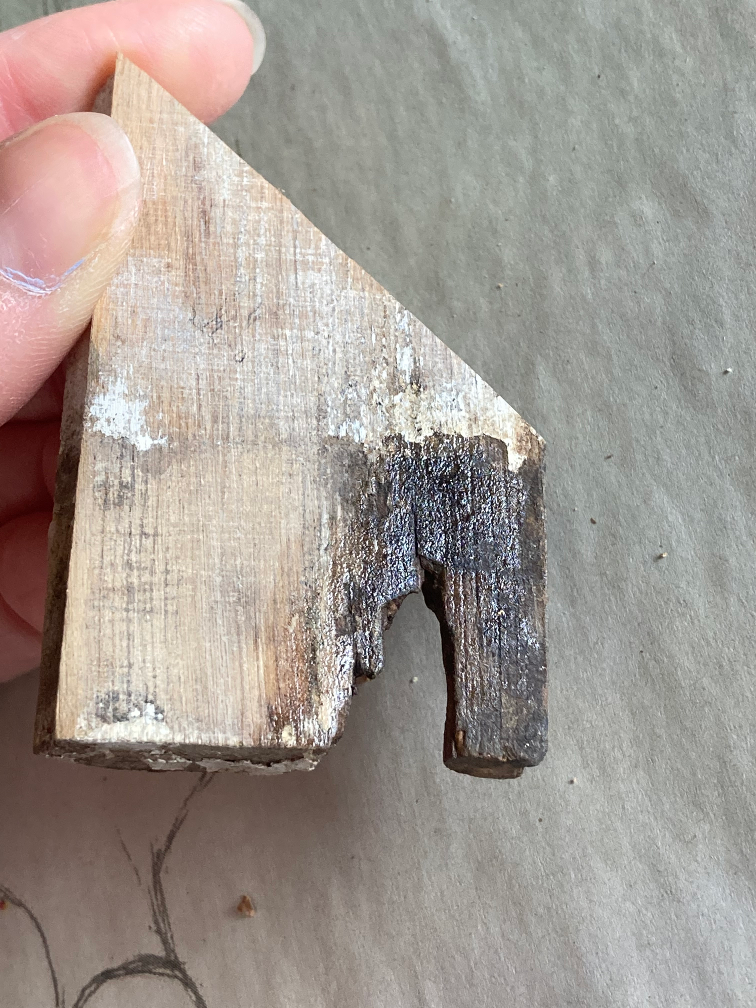
Image D: But, because the epoxy was applied when the sash was still intact, I failed to apply enough to penetrate deep into the wood as evidenced by the fact that the internal sections of this mortise joint are still light and dull in color. To the touch, these unreached surfaces are only moderately harder than the light most portion closer to the 45° router cut angle that received no liquid epoxy.
In this photo it is also very easy to identify what I feel is a brown rot. I say brown because it appears darker brown and shows the tell tale “cubical” formations running across the grain. (Weaver “Conserving” Pg 24) Now, when I gently pull apart the small piece hanging, it feels as though it would easily “shear” up and off because it is still incredibly weak along it’s grain that runs upward towards the 45° cut. This weakness shows inadequate epoxy application to provide needed strength.
Next Article 4 of 12: Study Sash Profile, locate Profile router bits & Research; Crafting a Custom Profile Blade