Have you ever spotted exposed, gray, weather beaten, and mold on a very old wood windows, and thought to yourself, it’s time for new windows! No need for despair because, despite how bad things may appear at first, what hides behind all that pealing paint, are the solid bones of an old growth, hard wood window, that is well worth the time to save.
In this Series of twelve articles, “Don’t Smash your Sash” documents my journey to restore this window over the course of a semester, for the Bucks County Community College’s Historic Preservation Workshop course, Spring 2021.
PROJECT: The Conservation of a Garage Window
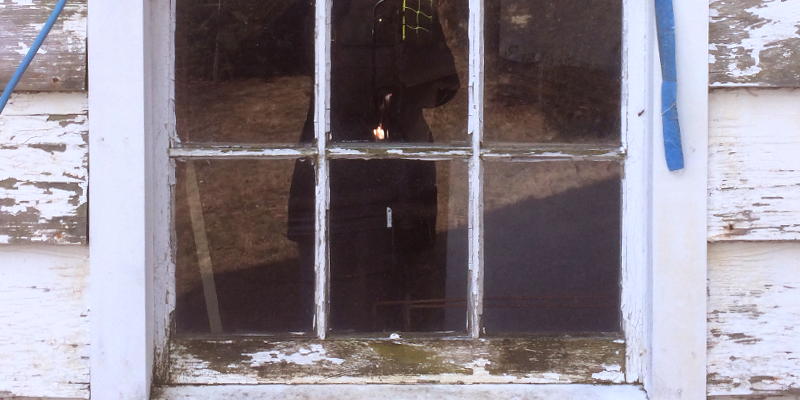
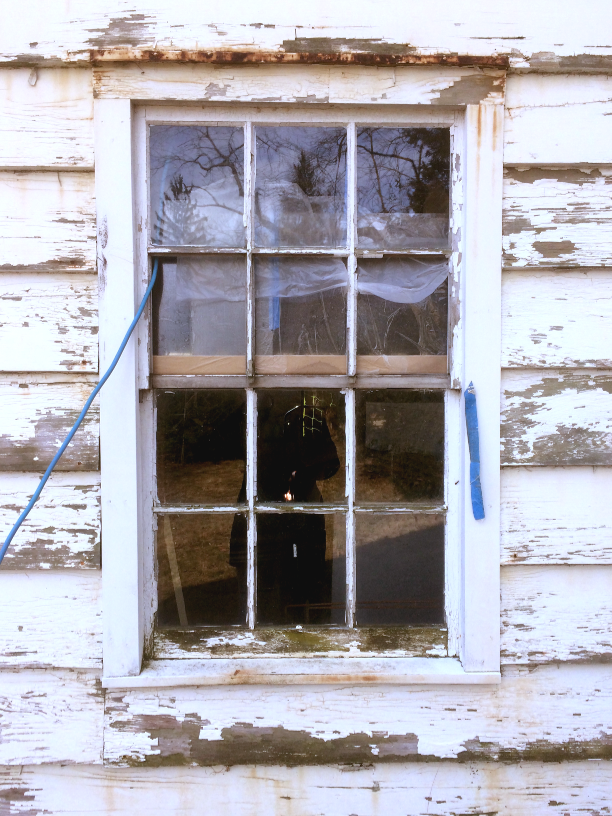
GOAL: To restore a damaged wood window so that it can continue to serve the garage that belongs to a 1932 Sears catalogue home that features matching pitched roofs in slate, copper gutters/downspouts, siding profile, and charming 6/1 windows.
“Don’t Smash your Sash” – Article 1 of 12 – Initial Inspection & Sash Removal
January, 1st – Initial Inspection:
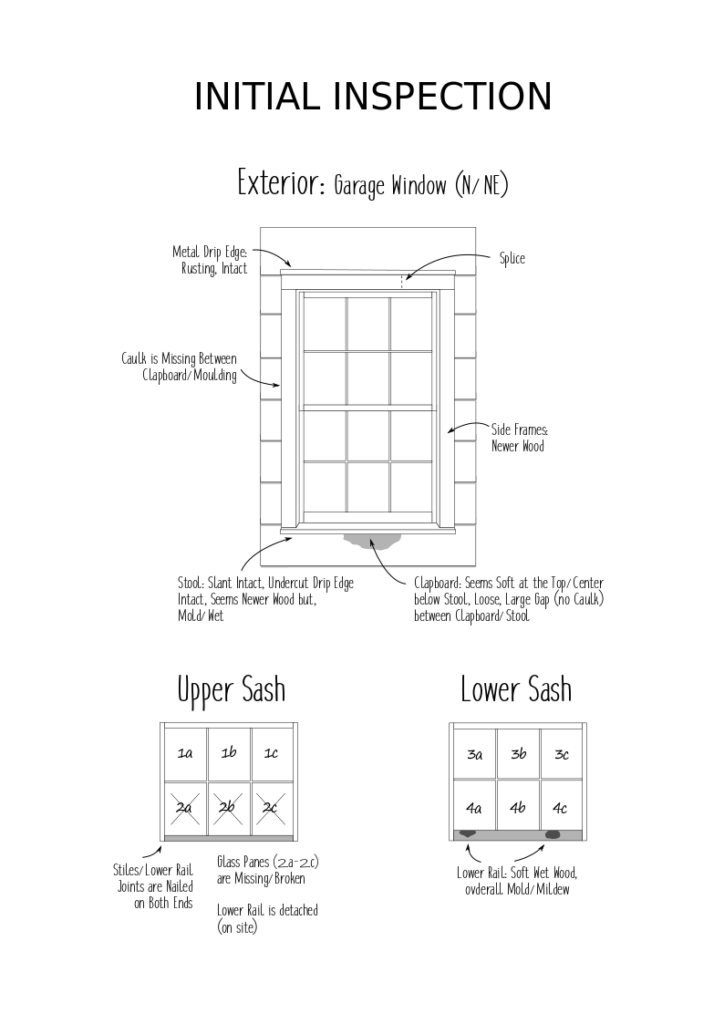
The condition of this, N/NE facing, single sash window is worse than expected. Paint failure on majority of surfaces. Mildew growing on large areas (both exposed wood and on paint), rot suspected, broken elements, glazing & glass missing. Interior is in good shape with the exception of one split muntin in Upper Sash. Sash removal should go smoothly. No interior trim.
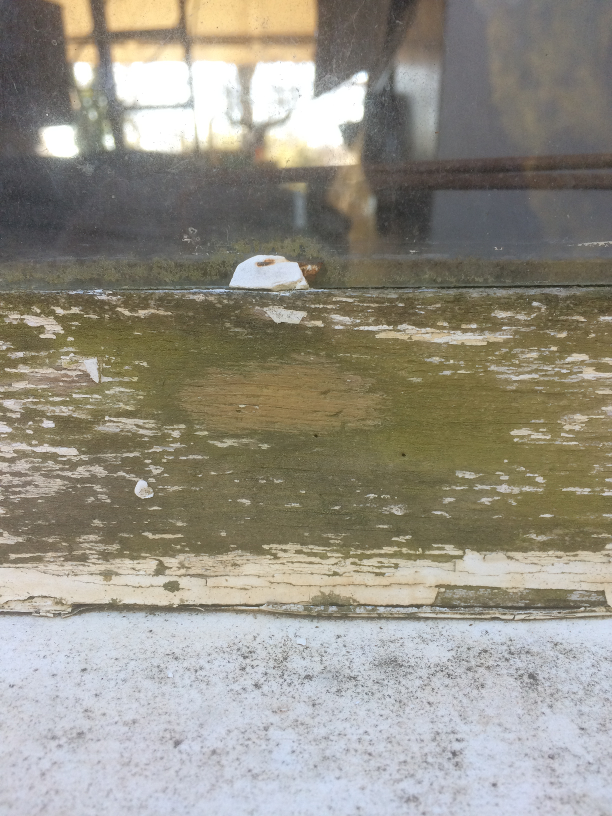
Ex/Lower Sash/Lower Rail:
(Bleach testing at Rail’s center)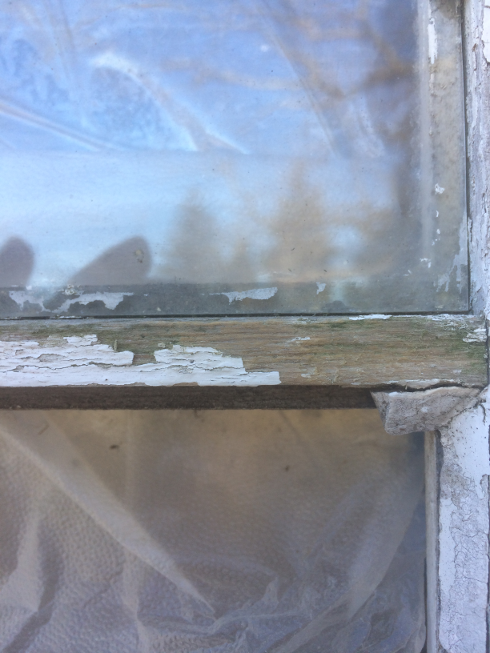
Ex/Upper Sash/Muntin 1c/2c 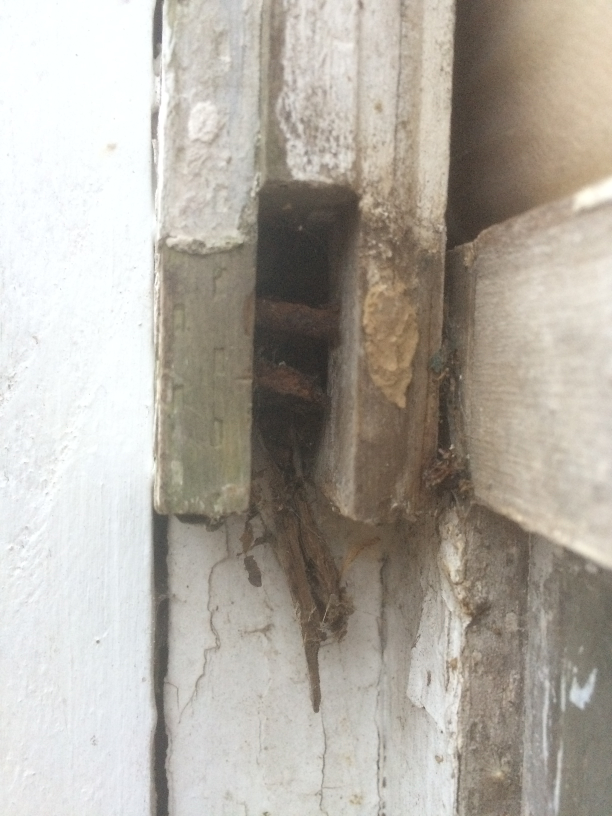
Upper Sash/Left Stile: Mortise
Identified Mechanisms of Deterioration: Paint and Glazing failure due to exposure to weather. Prolonged lack of regular maintenance, primarily of paint, caused damage to the underlying wood; mildew, mold, fungus growth & dry rot. Dry rot caused joint failures. Particularly the Upper Sash’s (US) Bottom Rail joints, on both sides, with it’s Stiles. This joint failure caused the bottom rail & all three adjacent panes above, to fall. Glass lost, rail most likely needs replacement.
- Dry Rot also damaged other joints throughout both sashes
- Fungus growth seen on Lower Sash’s bottom rail. May need patch/splice/or full replacement.
- A Split interior muntin (Upper Sash) Unsure of the cause.
Repairs to exterior window frame, stool, and top drip edge are planned for Spring. Full siding repairs are being investigated as well two remaining garage windows that are in better condition than the N/NE here. Diagram details the deterioration seen during initial visual inspection of exterior framing as well as both the Upper & Lower Sash’s components.
January 30th – Removal of Sashes: Was a smooth process. Removed parting beads without damage. They most likely will be reused to secure sashes during install. (Masking tape was applied prior over all exterior seams of glass/muntin to help keep intact the sashes during removal.) Sashes came out without noticeable damage and they remained intact in the work area in the basement. Able to place plywood.
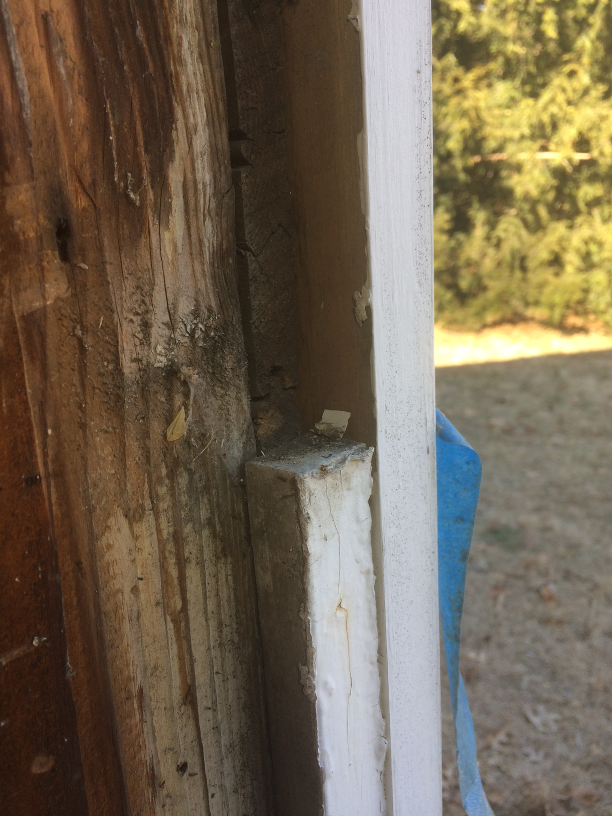
Interior: Left Parting Stop 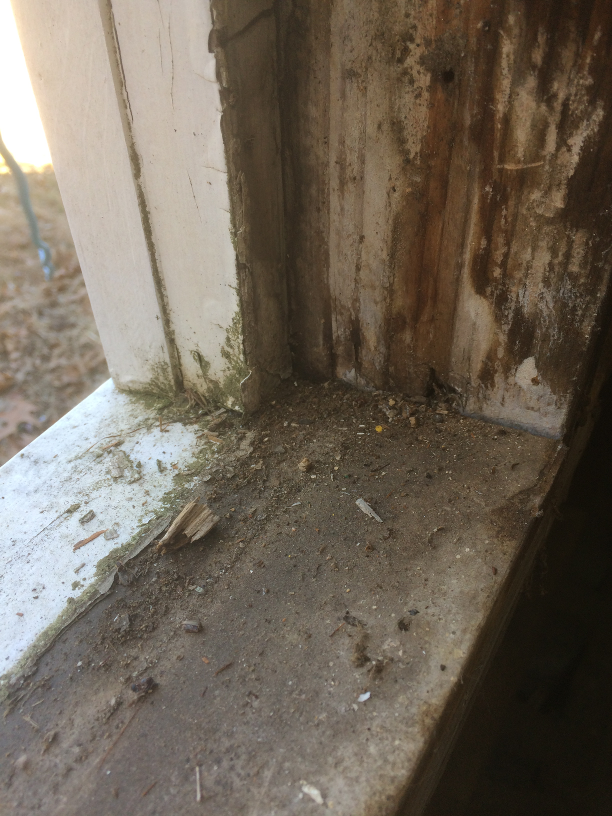
Interior: Right Sill 
“Temporary” fill board
Next Article 2 of 12: Lead Paint Removal & Removal of Glass, Sand Sashes, re-Inspect Sashes